Carlos’s Rooftop: Party Snapshots with the Fuji X-E2
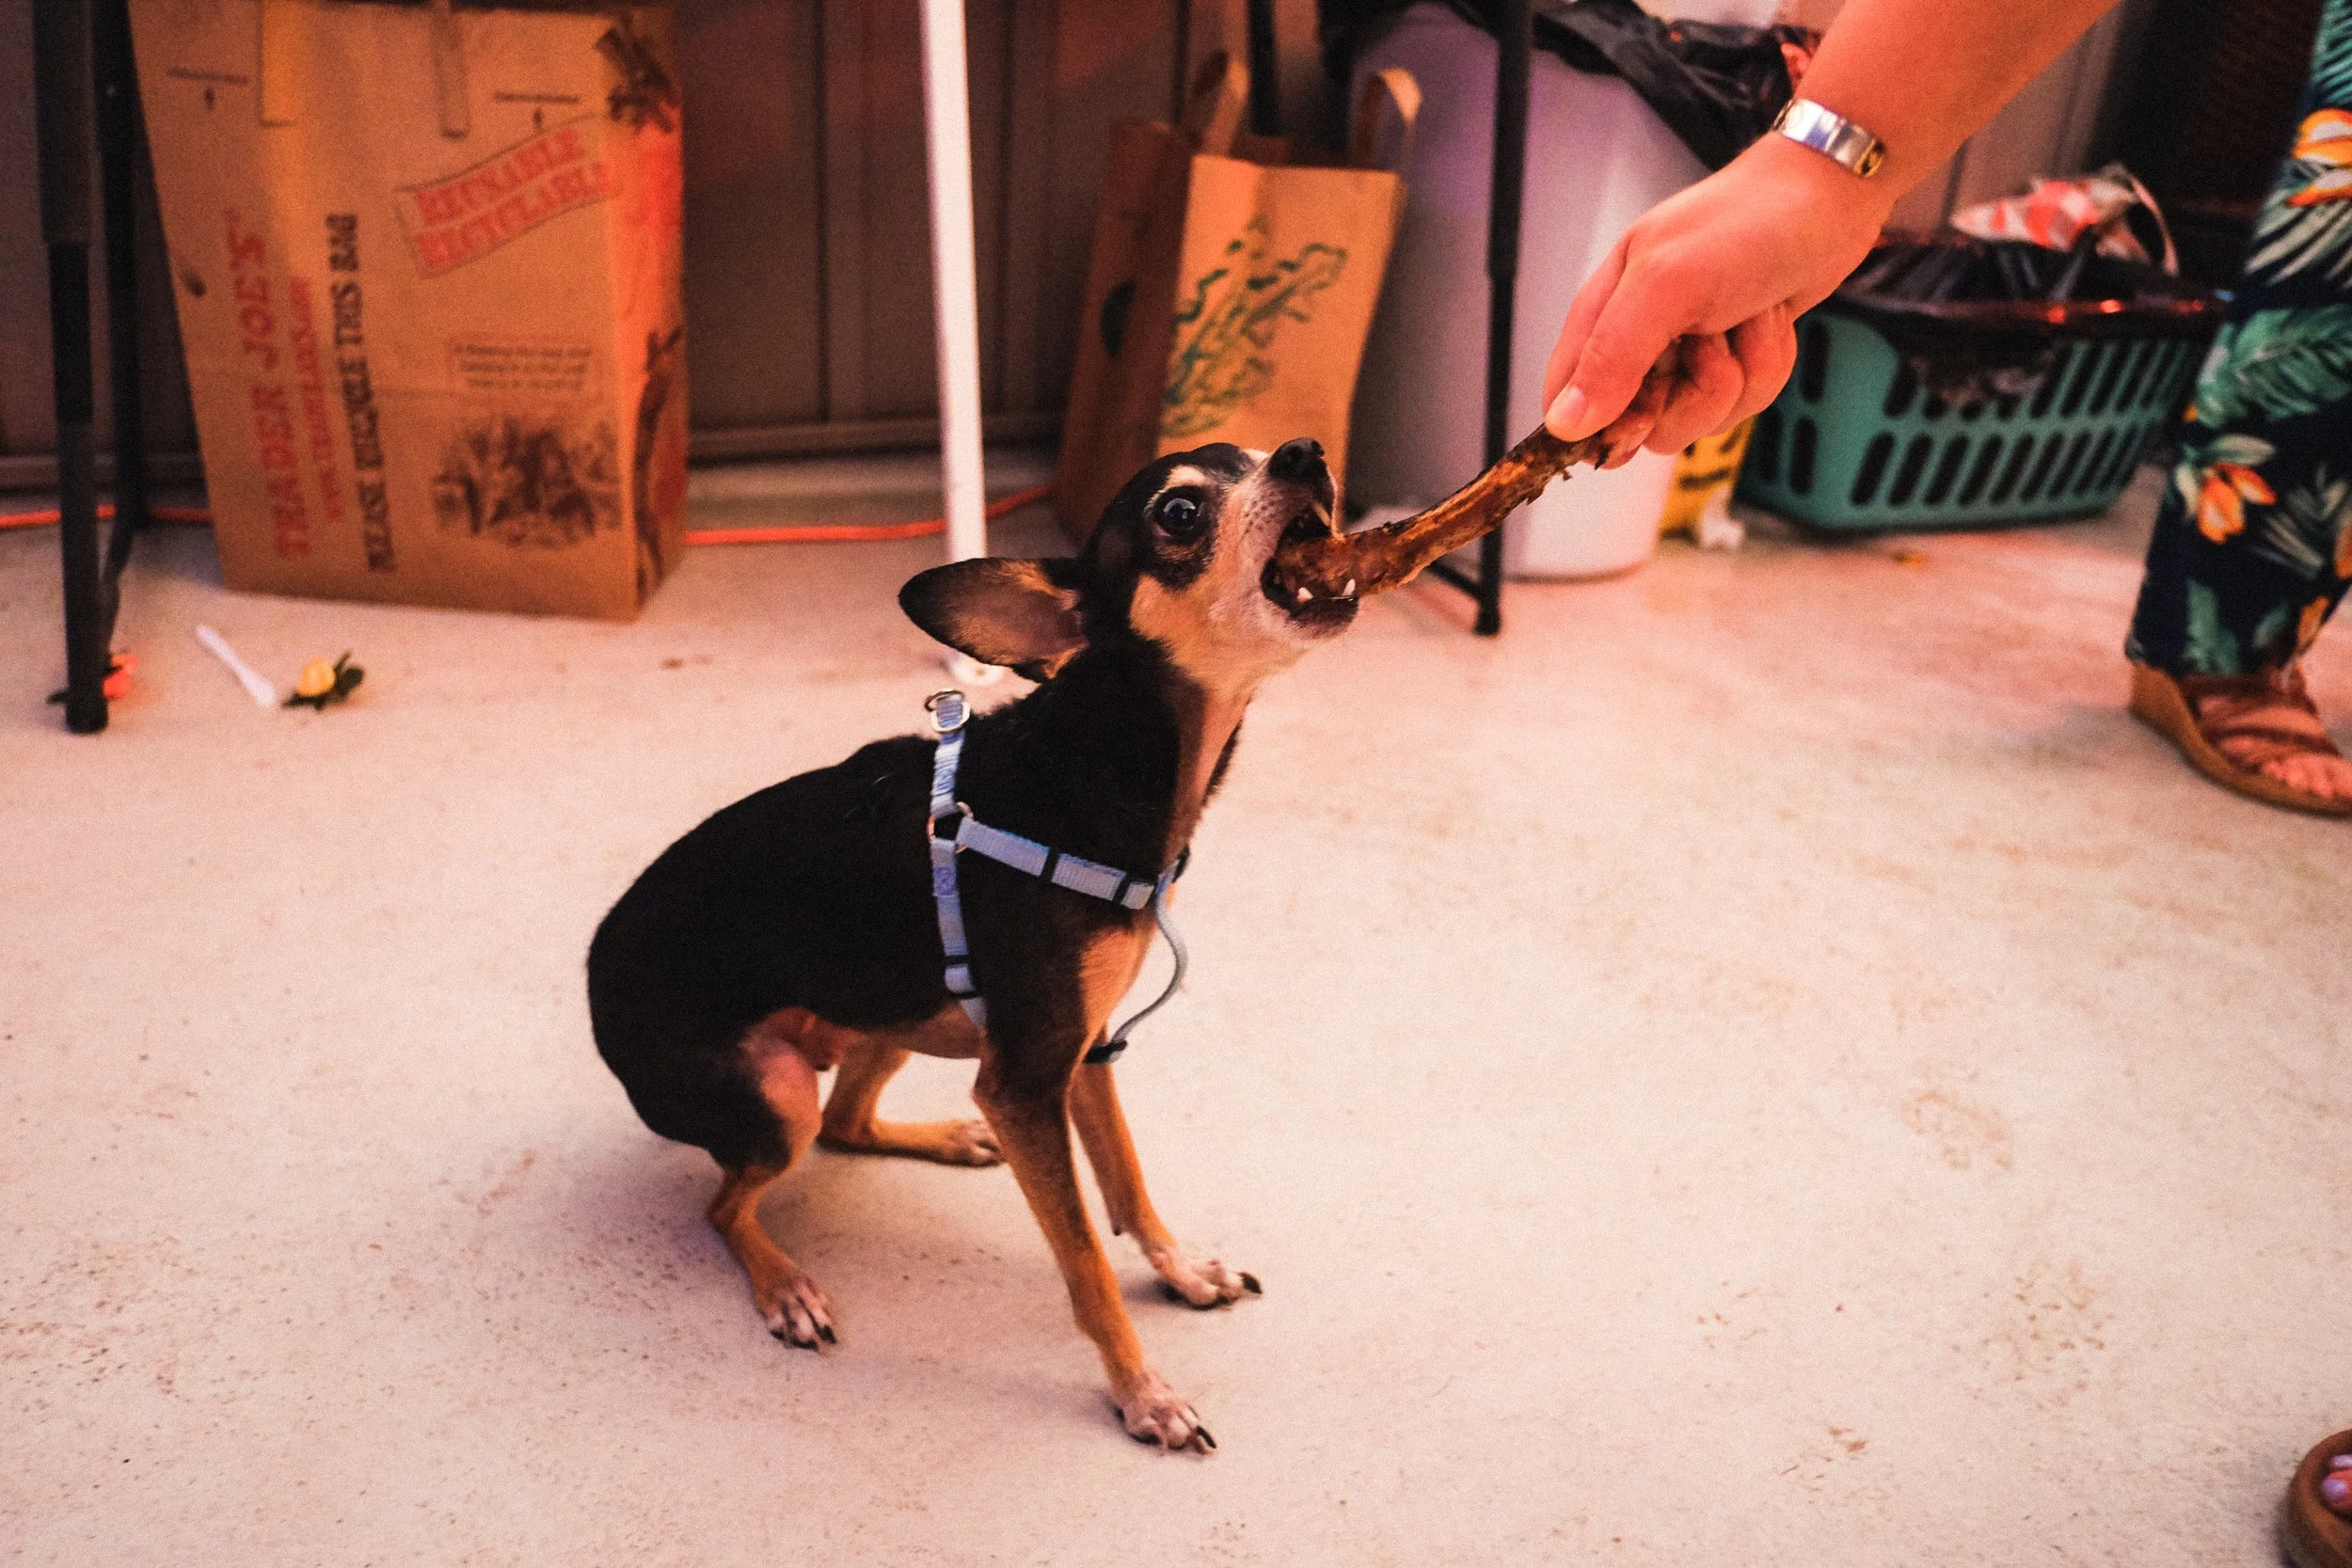
This past Sunday, my friend Carlos hosted a rooftop party at his new place in South Philly. God bless him, always the gracious host: the decór and hors d’oeuvres (I always thought that was one word) never disappoint.
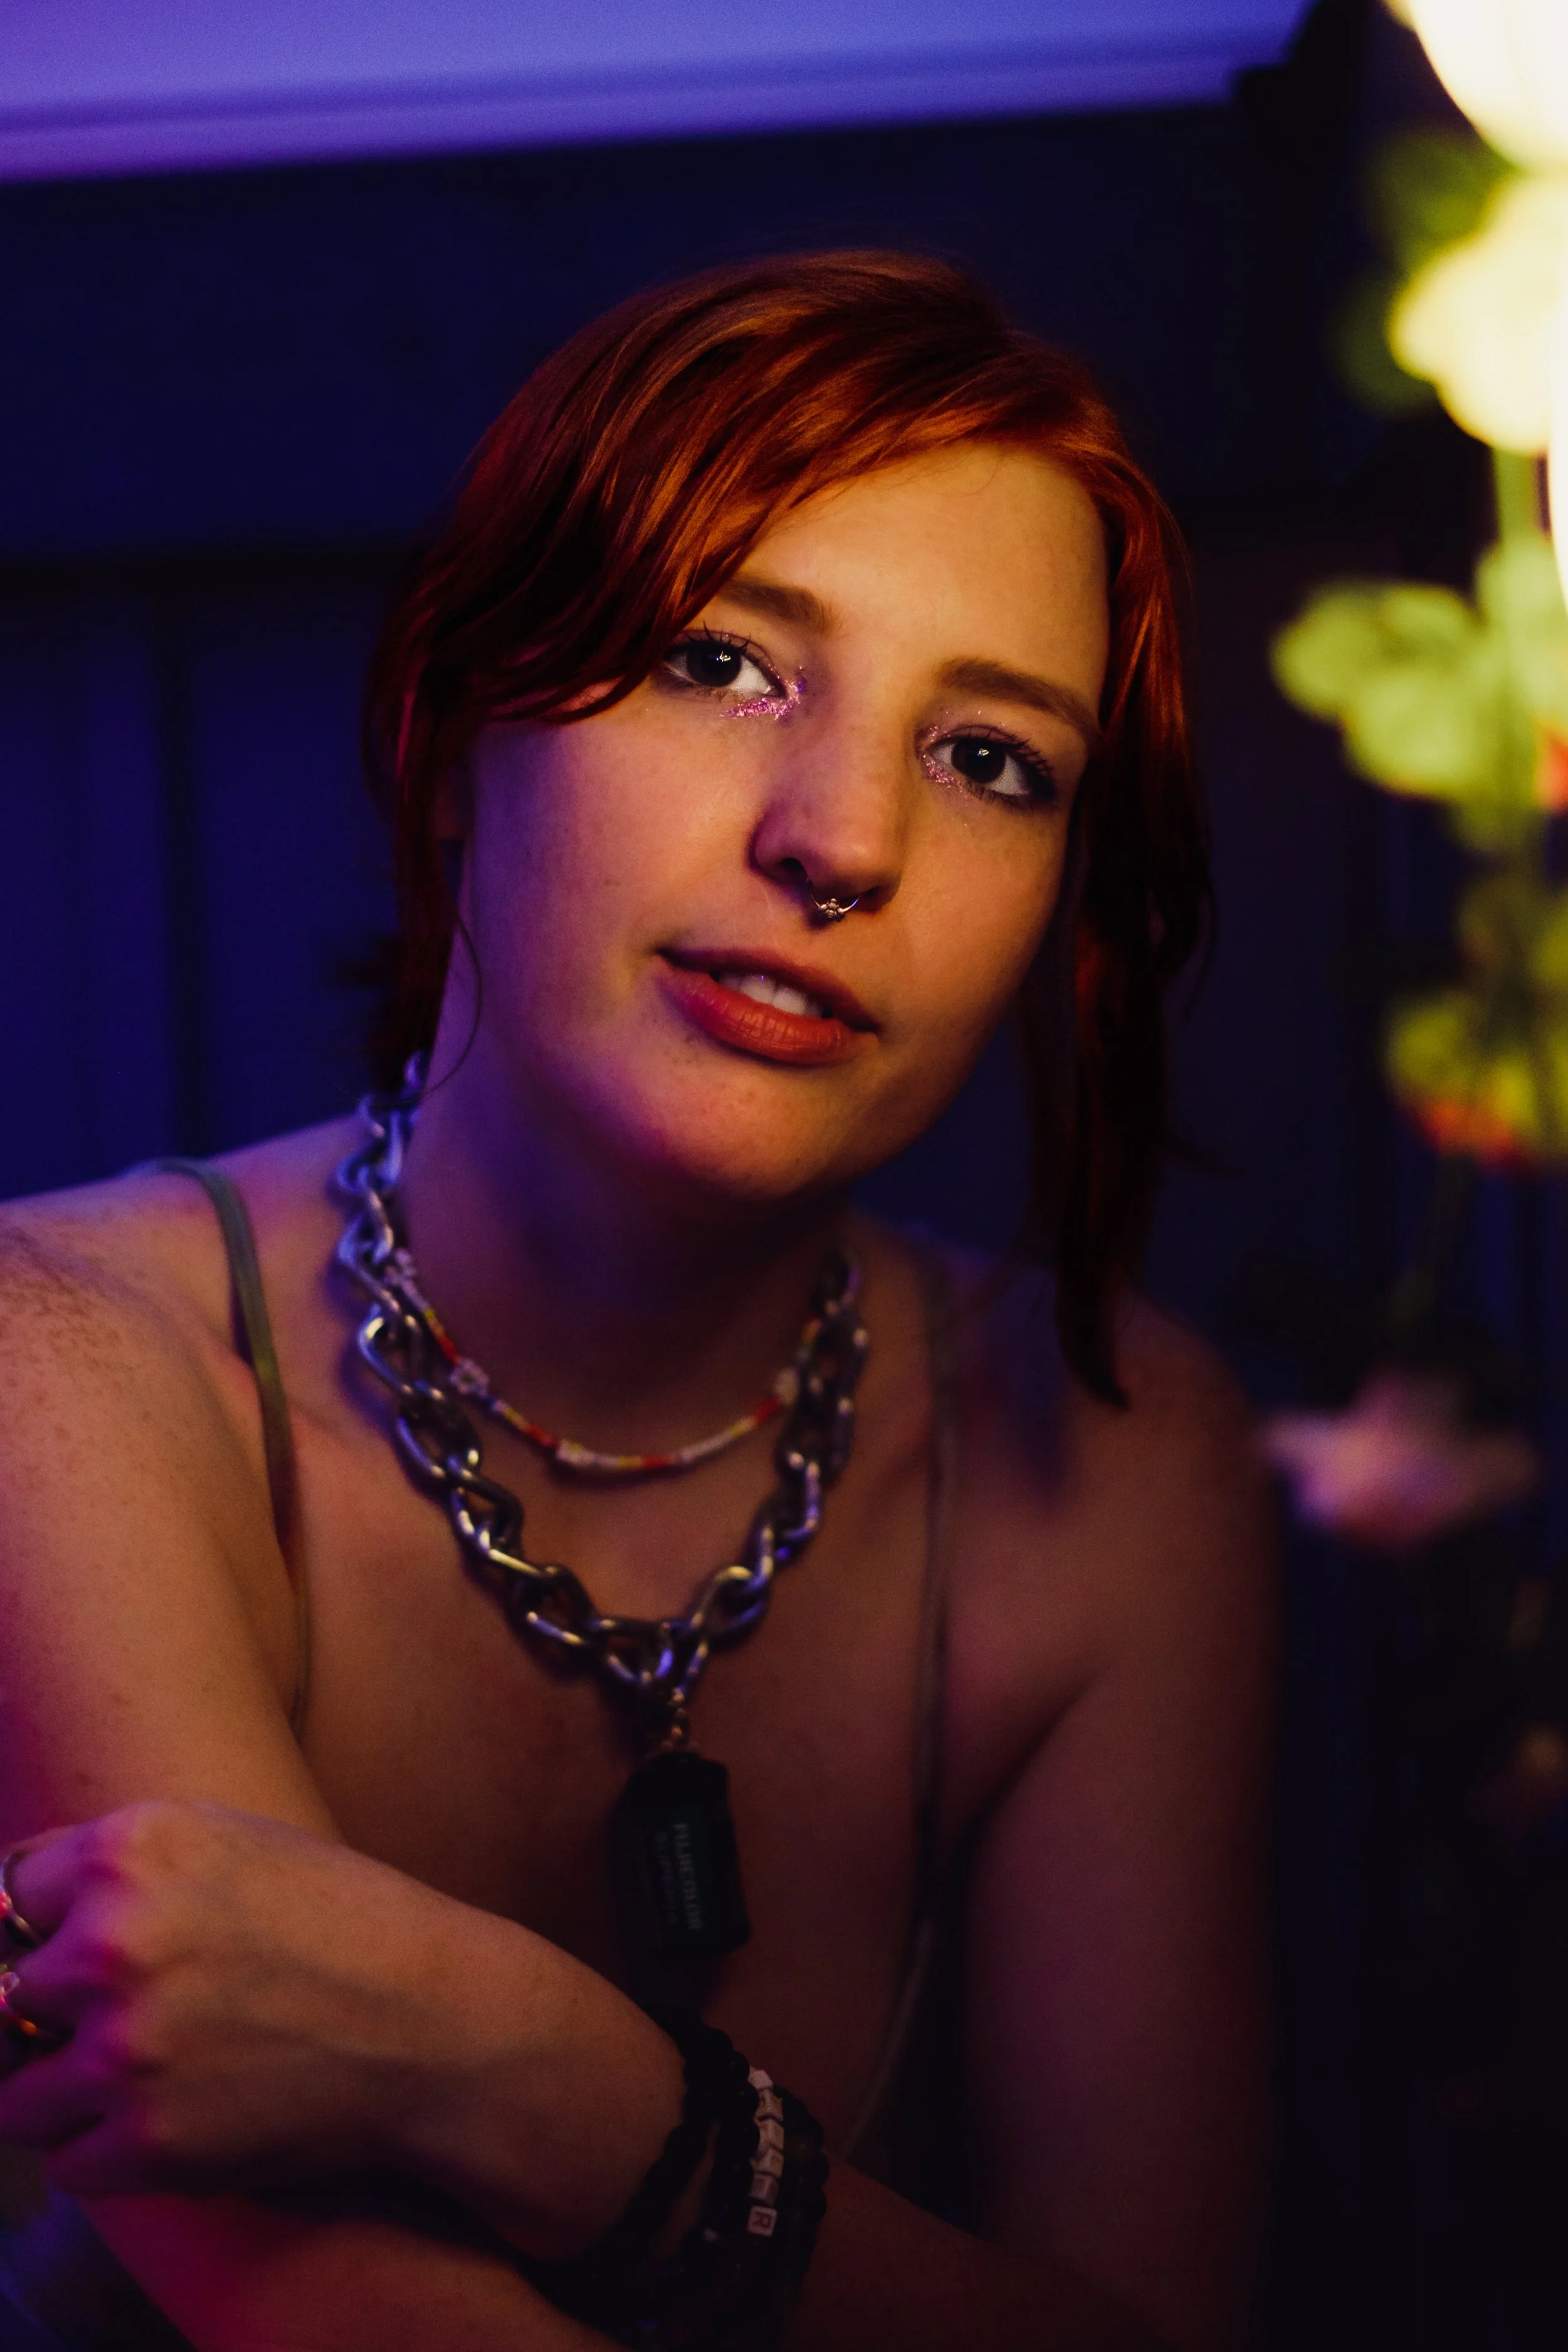
I brought my Fujifilm X-E2 for the occasion, paired with the XF 18mm F2 R pancake lens. I’m loving the bright happy colors and the summer-is-here mood of these snaps! This compact combo is perfect for party snapshots. People often mistake this high-quality mirrorless camera for a film point-n-shoot. (Speaking of film, I also shot a handful of frames on Portra 160 film with my Canon AE-1… I’ll add them once they’re developed!)
The 28mm focal length is my favorite for documentary-style shots. It’s wide, but not too wide, so you can still capture the scene, even when you’re up close and personal. Which is right where I wanna be — especially when I’m shooting for fun.
Here are all the images. Read on below if you’re curious about how I shot and edited these!
* Try clicking for a slideshow view with some captions!
Editing the Sunlit Shots
For the sunlit shots, I simply edited the gorgeous Fuji jpegs coming straight outta the camera. I almost always use Fuji’s Classic Chrome film simulation for my color photography. But this time, I used the Astia color profile for a more bright and playful look. I haven’t used Astia much in the past, but I’m loving the soft vibrant pop without oversaturating the skin tones (ahem Velvia).
To really bring out the summertime glow in these shots, I dropped the Clarity in Lightroom, bumped up the Exposure and Vibrance, decreased Highlights, opened up Shadows, bumped up Whites, applied a subtle S-shaped Tone Curve, added some punch to the oranges through the HSL panel and through a slight increase to the Blue Saturation in the Color Calibration panel, and finished things off with a layer of grain.
Here’s a few before-and-afters:
I think the jpegs out of camera look quite nice, but the edit gives it that extra umph. What’s cool about shooting Fuji jpegs is that most of the work is already done in-camera, and editing becomes a breeze. (It took me 10+ minutes to try to match the edit with the RAW files, and even still I often preferred the edited jpeg.)
Flash Photos with the X-E2
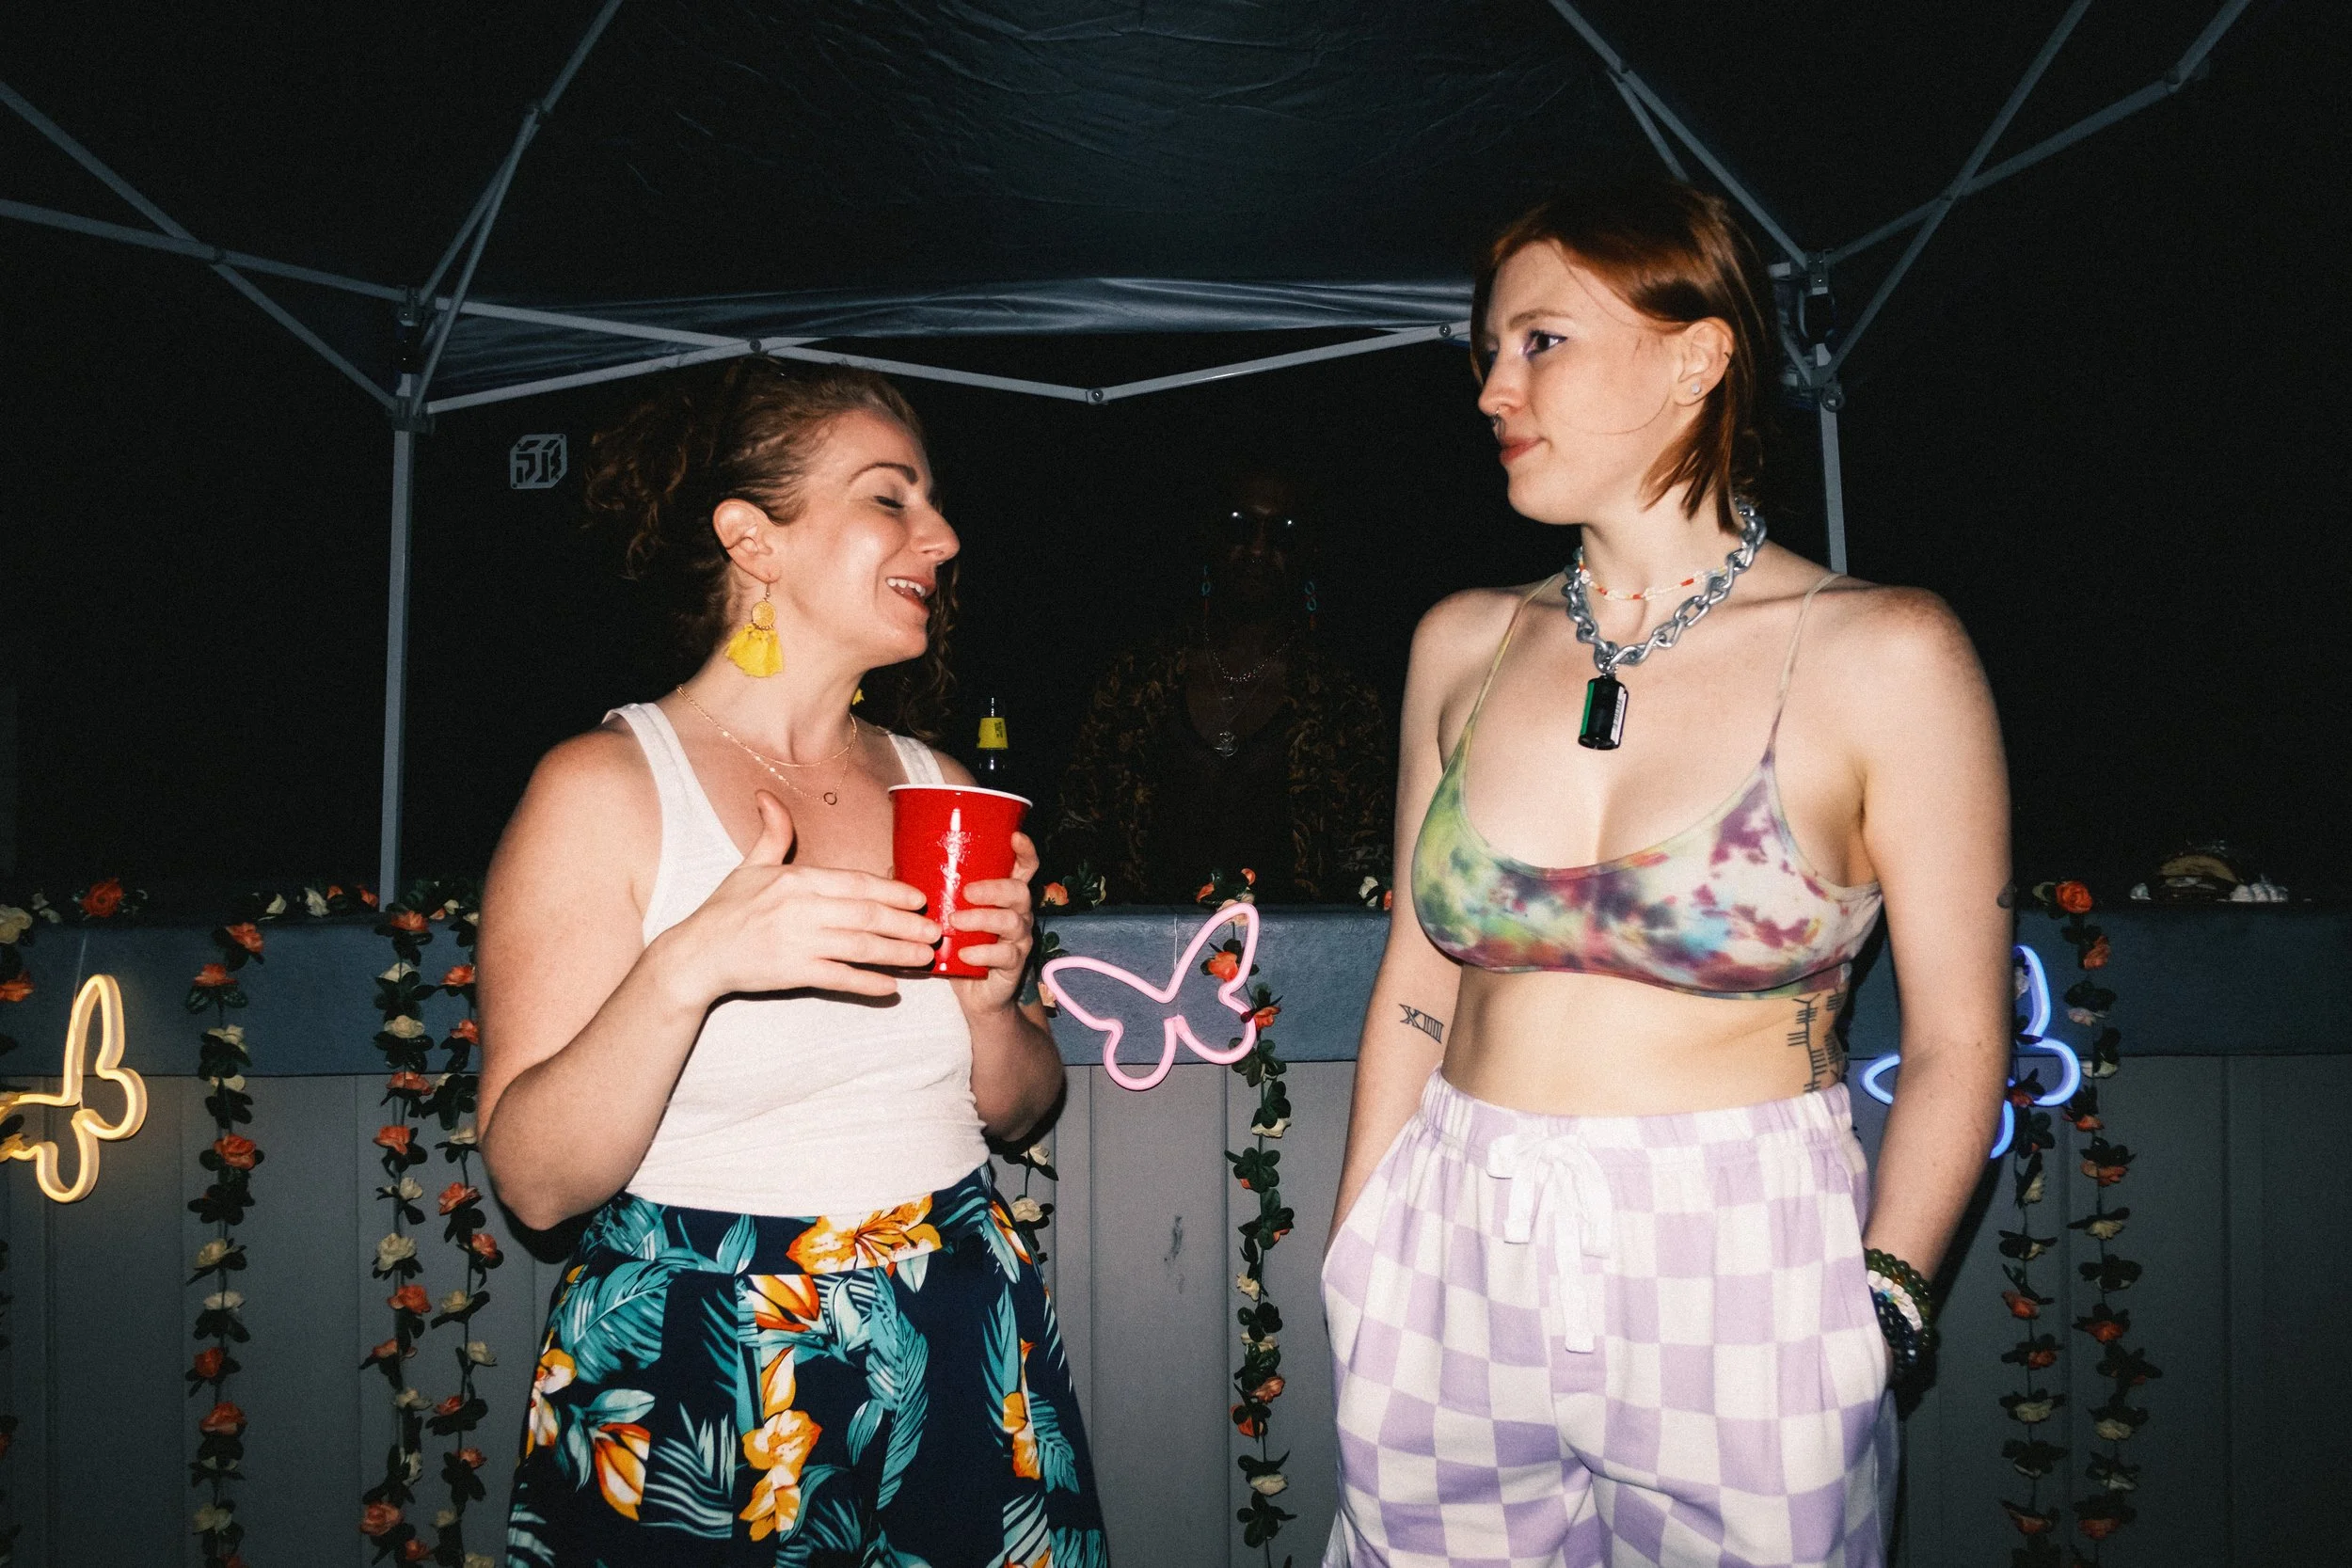
Once the sun was down, I busted out the pop-up flash on my X-E2. I quite like that direct-flash look, especially for parties. Who doesn’t love a ‘retro vibe’? (Gosh I wish there were a less Gen-Z way to say that…)
I like to shoot in black and white when I’m using flash, partly cuz it help me see the exposure, but mainly cuz it just looks good. Certainly better than the color photos I get straight out of this camera when using flash. Shooting color flash photos with Classic Chrome can look good, but Monochrome still looks better in my eyes. For color flash photos, I prefer to play with the RAW files.
The combination of direct flash with grainy black-and-white party pictures feels very 1950’s Hollywood. While the original black and white jpegs looked solid, I think they benefited from a quick edit in Lightroom. My goal was to play up the nostalgia factor. So, inspired by Kodak Tri-X, my favorite B&W film, I threw on a tone curve to add some contrast and crush the blacks a touch, tweaked the exposure/highlights/shadows to taste, and added some grain.
For the final touch, I used the Color Grading panel to give a subtle golden tint to the midpoints and highlights. I learned this trick from Kevin Mullins, who likes to use a feature on newer Fuji cameras to add a warm tint to his stunning documentary wedding B&W images. (I find the best results come from setting the Hue to 40 and Saturation between 10-20 in Lightroom’s Color Grade panel. In fact, I used the same trick for the natural lighting color photos above, as the golden-orange color grade compliments skin tones in daylight beautifully). The effect of this color grade on the black and white images should be subtle, but the difference is clear when viewed side-by-side. For me, the tinted version evokes more warmth and nostalgia. It even makes the straight-up monochrome shot look cold and somewhat lifeless in comparison.
Classic Negative: The Secret Sauce of the Color Edit
I like B&W a lot, but I know the people are partial to color. So, I threw a color edit onto the RAW version of these nighttime shots. To really stick with the theme of filmic edits, I threw on a homemade preset using Fujifilm’s Classic Negative film simulation as the base.
Among all digital cameras, Fujifilm’s Classic Negative color profile is perhaps the most authentically film-like. The trouble is, only Fuji cameras from early 2020 and on come equipped with Classic Negative. And while Fuji’s film simulations can be applied to the RAW files in Lightroom, by default they are limited to only the cameras which ship with the same color profiles. Luckily, there’s a workaround. One option is to use free software to alter the metadata so that Lightroom thinks the image was shot on a different camera (say, an X-E4 instead of an X-E2). But I learned a much better approach from YouTuber Pal2Tech which doesn’t require the extra work of spoofing your camera metadata each time. He shows how to find the hidden .XMP files which Lightroom references for all Fujifilm film simulations, and then edit one piece of the code in order to remove the camera model restrictions. This enables you to apply color profiles like Classic Negative and Bleach Bypass to ANY Fujifilm camera. Truly a game-changer.
I think the look from Classic Negative is something truly special, especially for nighttime flash photographs. I think it pairs beautifully with some added grain and a Tone Curve with slightly crushed blacks.
If you’ve read this far, cheers! This is Blog Post #2 on this site, but many more to come :)
Link to Google Photos album (higher-res files)


